Amazon Reserved Instances are virtual servers that run in Elastic Compute Cloud (EC2) and Relational Database Service (RDS). The AWS reserved Instances provides us with the cost-efficient pricing when compared with the generally used On-Demand Instance.
Individuals and companies are sure about the Capacity they will us for a year. They can make use of this feature which will be very cost efficient but also provides the customer with Capacity reservation in that specific availability zone. The price difference between the On-Demand Instance and Reserved Instance will be up to 75%.
The Reserved instances come with three payment options
- No Upfront→ No Upfront payment is required for this. The end user will be billed on a discounted hourly charges and AWS provides us this based on the contractual obligation that we will be paying them on a monthly basis. To be eligible for the offer, you need to have a good history with AWS.
- Partial Upfront→ A part of the amount is paid as upfront and the remaining discounted hourly charges will be charged. The remaining payment needs to be paid at the end of every month.
- All Upfront→ Full payment will be paid at the start and no additional charges are levied.
Also, read the comparison between AWS and DigitalOcean.
Follow the steps to purchase a reserved instance and attaching with our currently running On-Demand EC2 Instance.
How to purchase EC2 reserved instance in AWS?
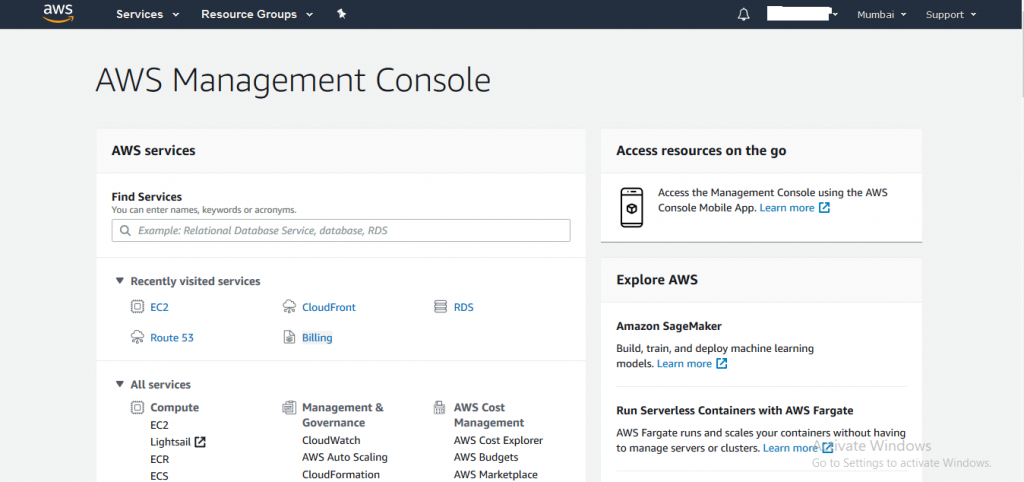
Step 1: Login into AWS Console
Login into AWS Console using your credentials
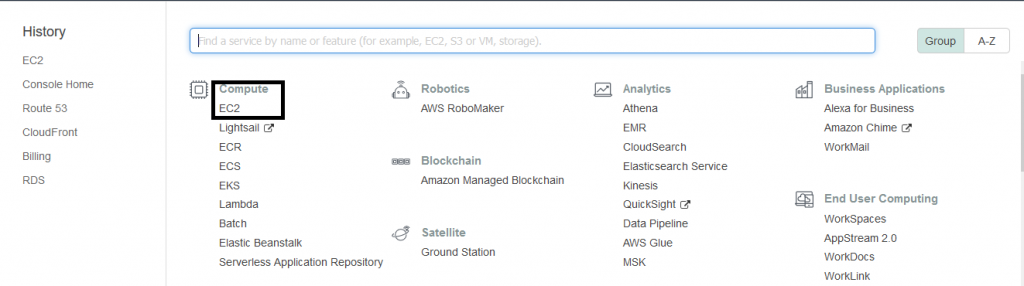
Step 2: Choose Compute > EC2
After logging in navigate to AWS services Compute and choose EC2
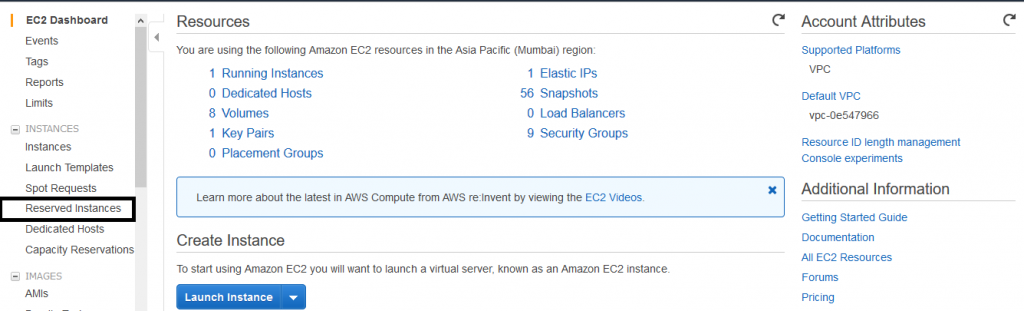
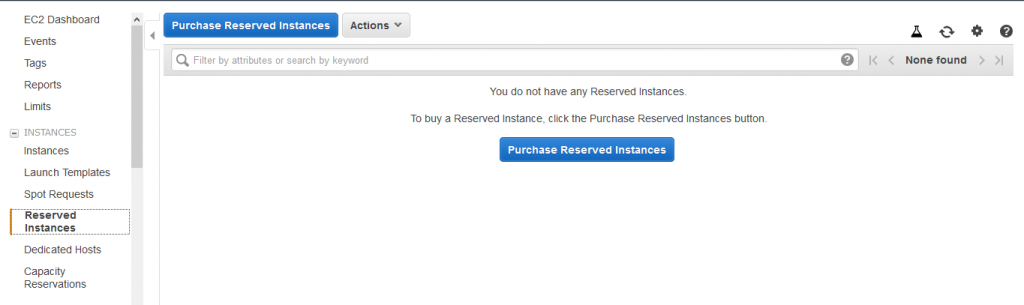
Step 3: Choose Reserved Intances
After choosing the EC2 service in the EC2 Dashboard choose the Reserved Instances. It will be on the left hand side of the screen.
Step 4: Select Purchase Reserved Instances
After selecting Reserved instances in the next page, select Purchase Reserved Instances
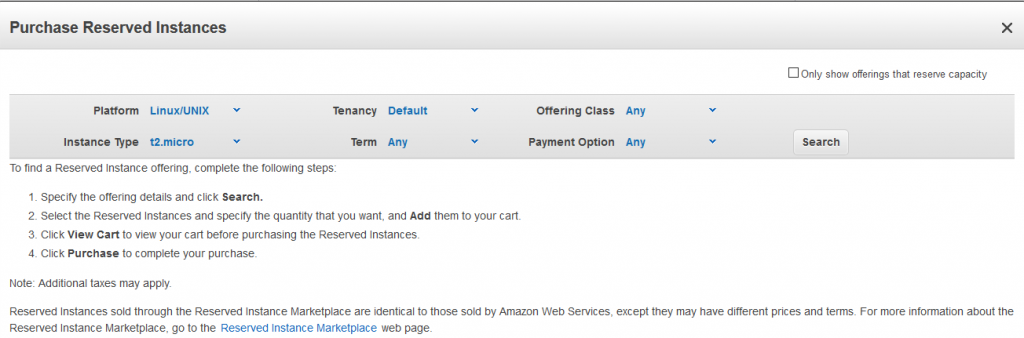
Step 5: Choose more options
After we click on Purchase Reserved Instances it will navigate us to the screen where we have to choose the Platform, Instance Type, Tenancy, Term, Offering Class, and Payment Options.
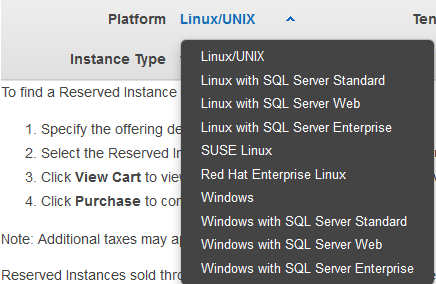
Step 6: Choose the platform of your choice
In the Platform, you can choose from any of the options from the drop down menu. Choose according to your requirement.
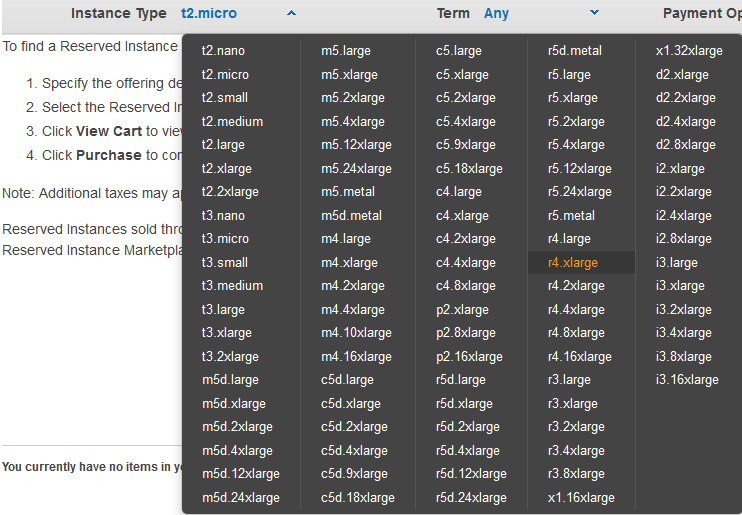
Step 7: Choose the Instance Type
In the Instance Type, you can choose from any of the options from the drop-down menu as shown below.
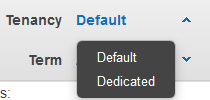
Step 8: Choose the Tenancy
In the Tenancy, you can choose from any of the options from the drop-down menu as shown below.
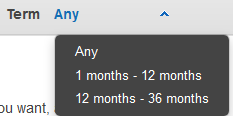
Step 9: Choose the Term
In the Term, you can choose from any of the options from the drop-down menu as shown below.
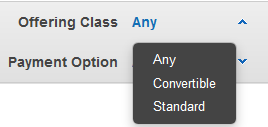
Step 10: Choose the Offering Class
In the Offering Class, you can choose from any of the options from the drop-down menu as shown below.
Step 11: Choose the payment option
In the Payment Options, you can choose from any of the options from the drop-down menu as shown below.

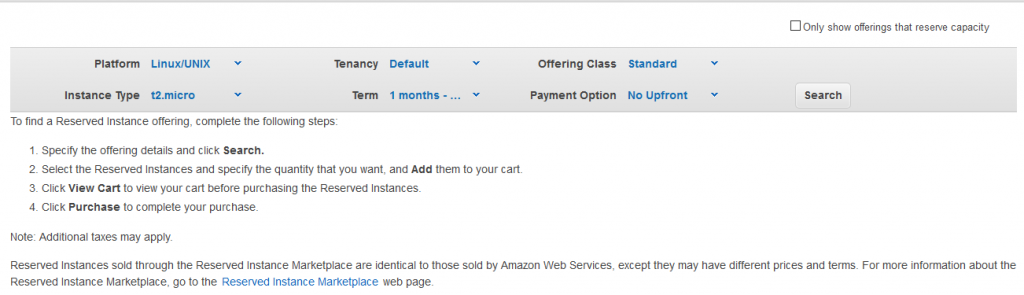
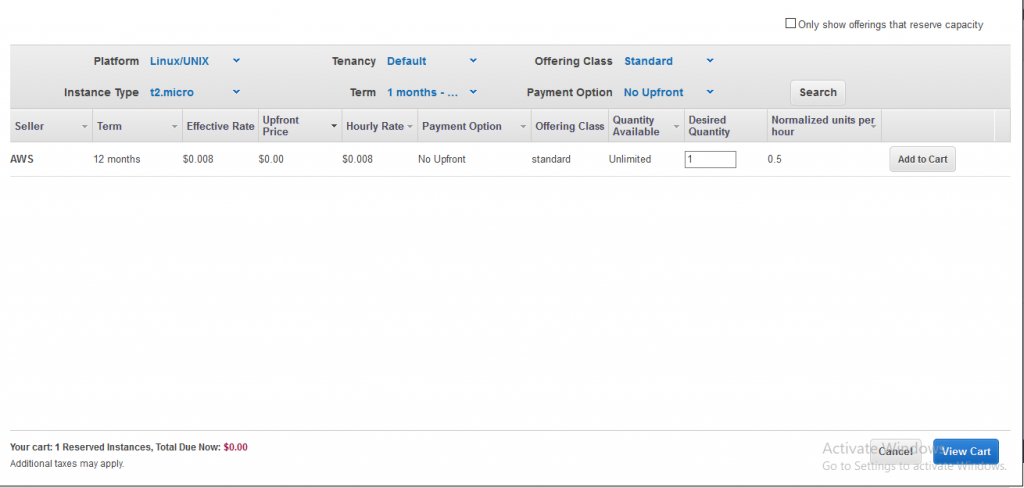
Step 12: Example of chosen settings
For example for the server we have chosen the following settings.
Paltform → Linux/Unix, Instance Type → t2.micro, Tenancy → Default, Term → 1 to 12 months , Offering Class → Standard, Payment Options → No Upfront.
Step 13: Add to cart
After making our options click on Search key and click on Add to cart

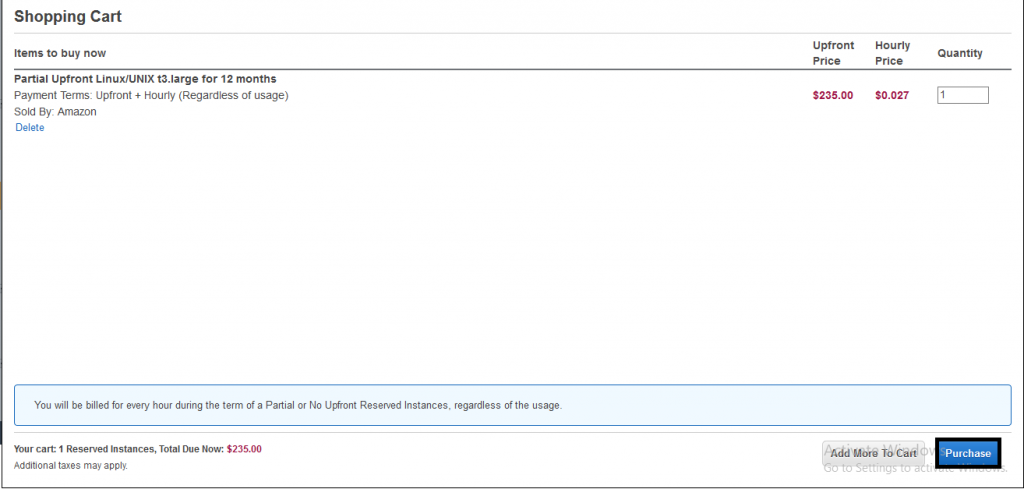
Step 14: View Cart
Now after adding it to cart click on View Cart which will be at the bottom of the same screen
Step 15: Review Pricing
Finally, review the pricing and place your order by clicking the Purchase button as shown in the image below.
Now we have successfully completed the purchase.
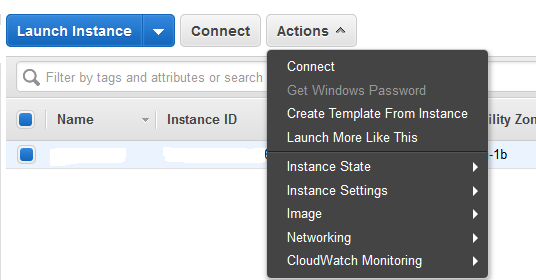
Step 16: Stop Instance
In order to attach the purchased reserved instance to our On-demand running instance you have to stop the running instance first. To do so you need to first Select the instance for which you wanted to attach the reserved instance and go to Actions→ Instance State→ Stop
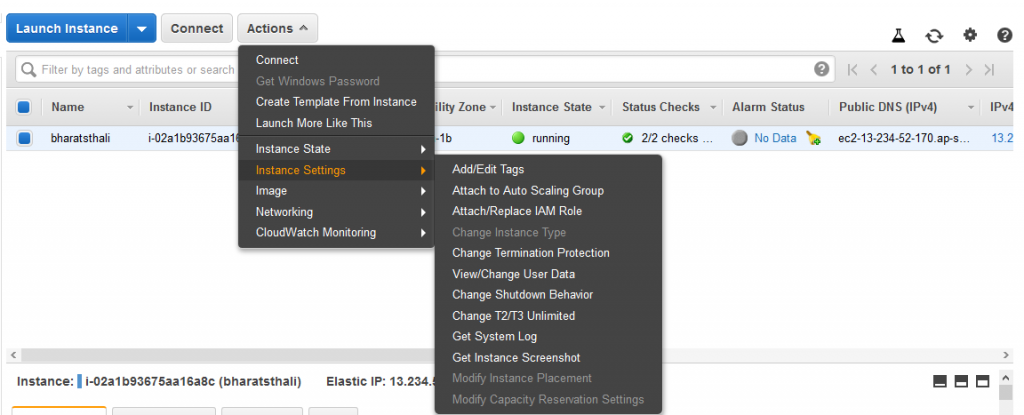
Step17: Change Instance Type
After stopping the instance do the following to attach the reserved resources to the instance. Select the instance, go to Actions→ Instance Settings→ Change Instance Type, and choose the purchased instance type which will be available as shown below
Kindly note that the Reserved instances are Region-specific and Availability Zone specific. AWS also has a limit of purchasing only 20 Reserved instances in a specific Region.
Congratulations, you completed the tutorial. This leads us to the tutorial of How to purchase EC2 reserved instance in AWS. What do you think about EC2 Reserved Instances? Comment below and let us know. Also, don’t forget to share it with your peers on social media platforms.