Have you ever wondered how to allow a browser to access the resources on a remote server while running from one origin? You can do it with the help of Cross-Origin Resource Sharing(CORS).
Web browsers do not allow websites to make cross-origin request due to security concerns. To inform our browser to allow access to the resources of another domain/protocol/port, we have to use a mechanism called Cross-Origin Resource Sharing (CORS)
An example of a cross-origin request: A JavaScript application (http://mydomain.com) requesting resources from another domain such as http://api.anotherdomain.com/image.zip using XMLHttpRequest method. This is done to free up the original server and take advantage of a demographically closer server to serve content.
Cross-Origin Resource Sharing is a mechanism in which the web application running in a domain can access the limited resources of another domain/server/port/protocl with the permissions done via additional HTTP headers. It needs to be done by setting the response header of the end server’s as
ACCESS-CONTROL-ALLOW-ORIGIN:HTTPS://<domain name for which its resources are allowed to be accessed>
Cross-Origin requests are also known as Cross-Site requests where a web page of particular domain access makes requests to the URL of different domains. This mechanism of CORS supports secure cross-origin requests between the browsers and the servers without any vulnerability. It also allows choosing of the external servers for storing resources or accessing them.
The request methods allowed in CORS are GET, HEAD and POST
I) GET→ this HTTPS request allows only to retrieve data from the specified resources
II) HEAD→ this method requests the headers that are returned if the specified resources are requested with the GET method
III) POST→ this sends data to the server and this request is sent via a html form
Now in order to enable the mechanism of CORS in Digital Ocean servers follow the following steps
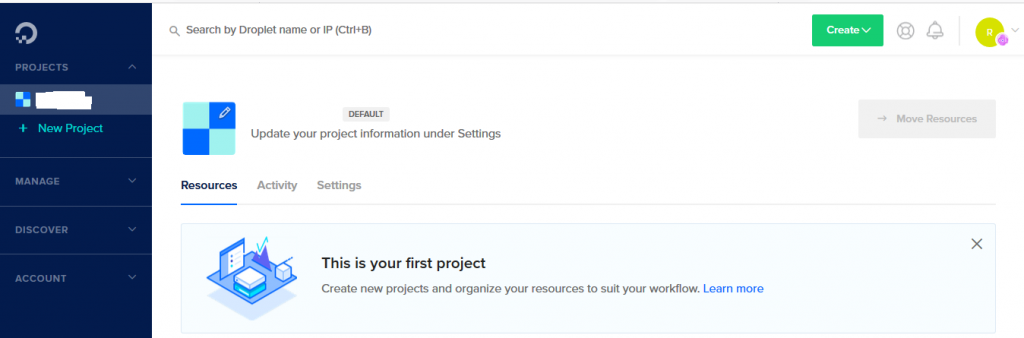
Step 1: Login in to Digital Ocean
Login into to Digital Ocean server using your credentials
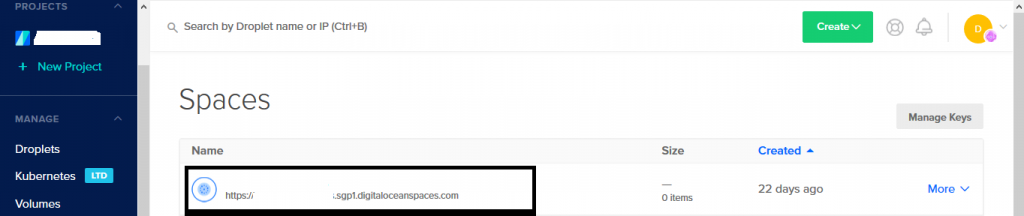
Step 2: Click on Spaces
Expand Manage and then click on Spaces which will be in the left-side of the screen

Step 3: Select the Space for CORS
After choosing the Spaces, you will have the list of the spaces which you have already setup now. Select the one for which you need to set up the CORS mechanism.
After choosing the space of our desired choice navigate to the settings of that particular space
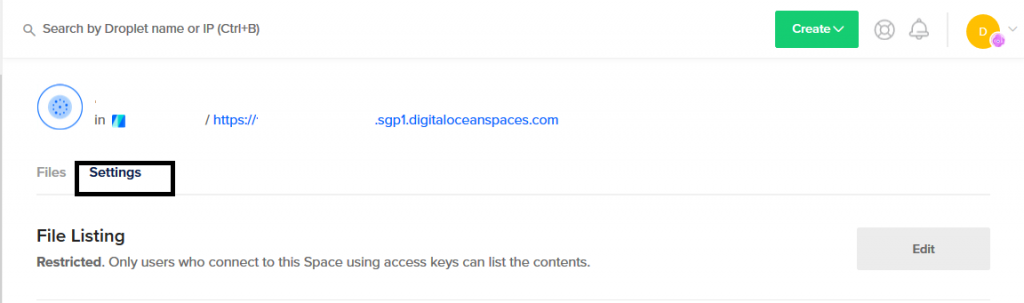
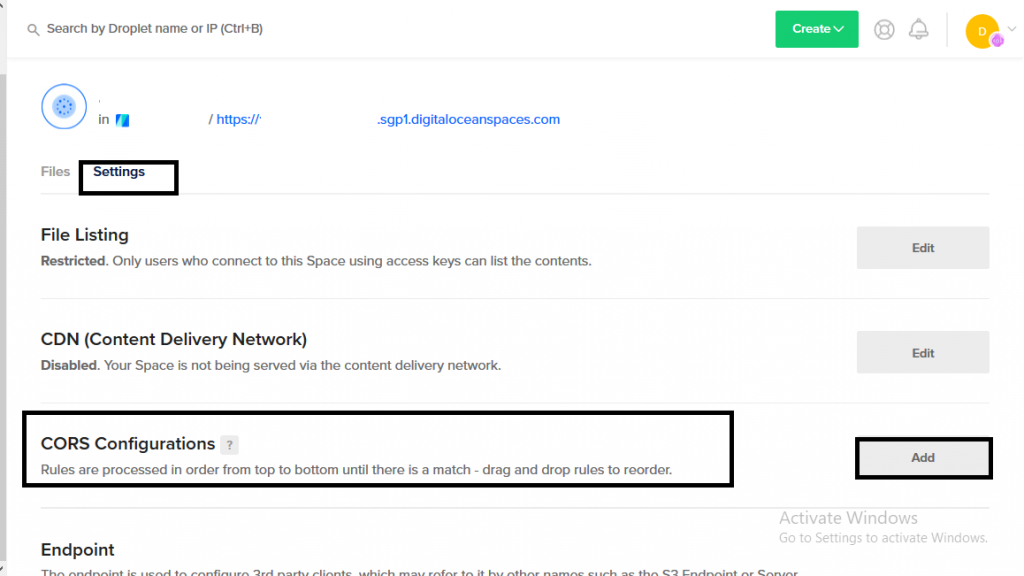
Step 5: Click on Add
Now navigate to CORS Configurations in the settings and then click on Add
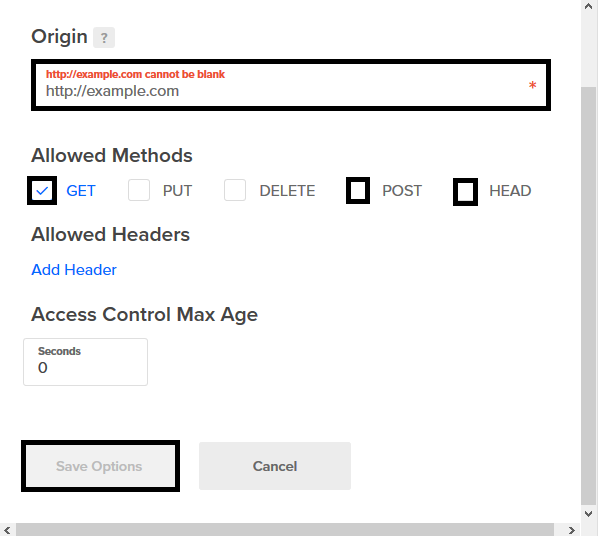
Step 6: Setup Origin Domain Name
Now after clicking on Add provide the Origin domain name for which we are allowing the spaces to be accessed and choose any one of the requests among the three methods GET, POST or HEAD. After selecting then click on Save Changes.
Once done, you will be able to use CORS for cross origin requests.