In this article, we are going to learn how we can transfer a snapshot from one DigitalOcean account to another. It is common for a business to change accounts.
For example, if you started in a non-business account, you might want to change your DigitalOcean account for business-related purposes. In any case, we will be going through a detailed tutorial on how to transfer Droplet from one digital account to another.
Let’s get started.
How to Transfer Droplet Between Two DigitalOcean Account
By following the below mentioned steps, you can easily transfer Droplet between two accounts.
Also read, How to install Joomla in CentOS DigitalOcean
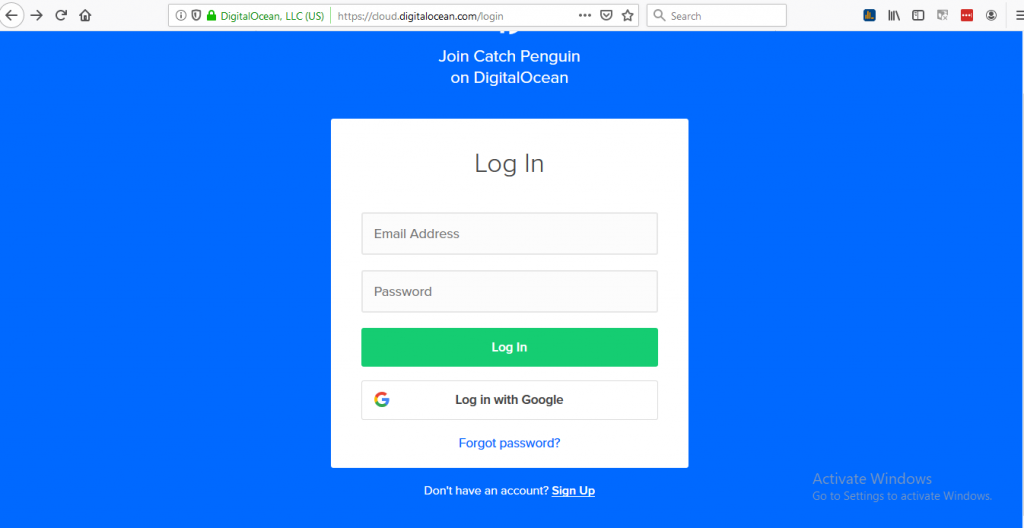
Step 1: Logging into the DigitalOcean account
The first step is to log in in your DigitalOcean account. To do so, click the click on the link https://cloud.digitalocean.com/login and provide the correct credentials.
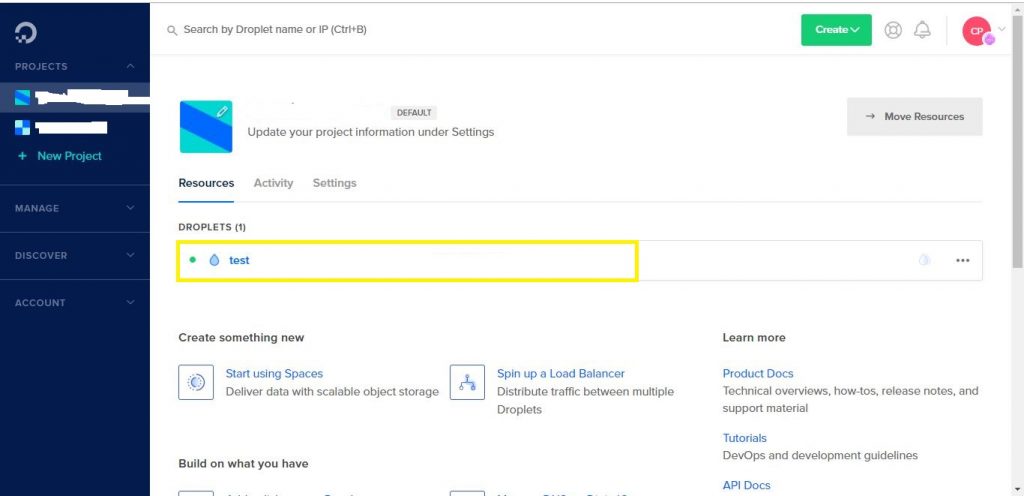
Step 2: Locate the Droplet
After logging into your DigitalOcean account, click on Manage → Droplets and then locate the Droplet from the list of Droplets. Make sure that you choose the correct Droplet as you need to take the snapshot from it. Now, select the Droplet.
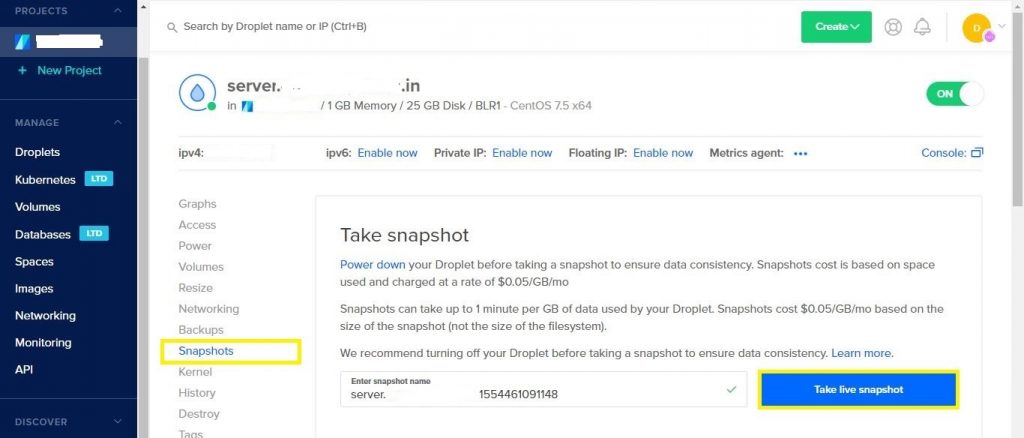
Step 3: Creating a Snapshot
After Clicking on the Droplet, click on Snapshots. Once done, you need to name the Snapshot and then click on “Take Live Snapshot.” Usually, the snapshot will require some time depending on the size of the Droplet. It is advisable to take a snapshot only after powering off the Droplet even when you can take a live snapshot without any data loss.
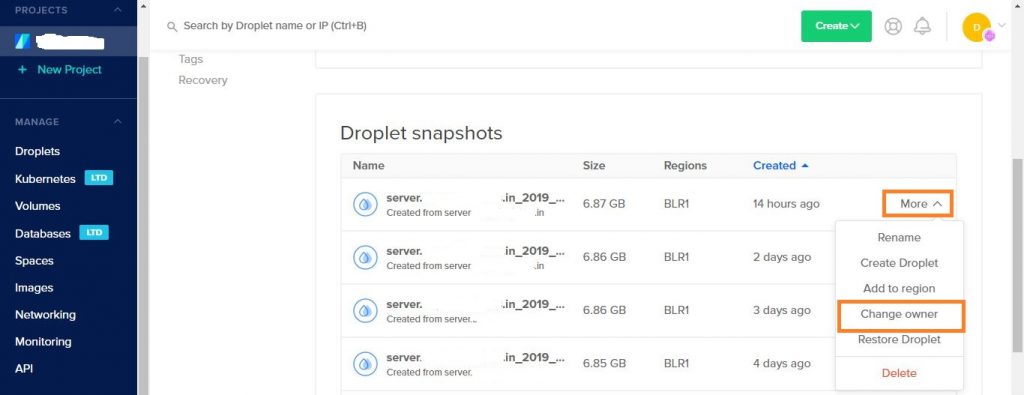
Step 4: Transfering the snapshot
Once the snapshot is created, it will be available under Snapshots → Droplet Snapshots. From there, make sure you choose the correct snapshot then click on the more in the dropdown menu as shown in the image below. Now, click on Change Owner from the dropdown menu option.
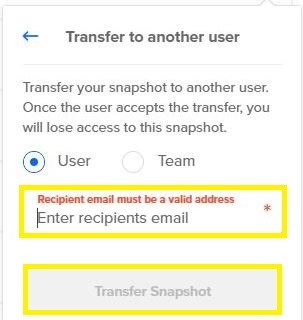
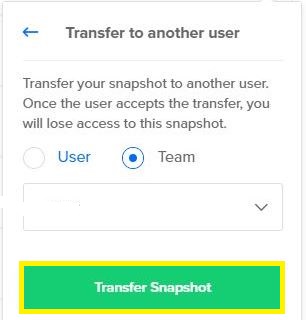
Step 5: Selecting the user
By clicking on Change Owner, you will have the option to choose a User or Team. If you select User, you need to provide the email id of the said user. If we decide to choose Team, then you have to select the team from the dropdown list. From there you can select the team and then click on Transfer Snapshot.
Step 6: Accepting the Snapshot
Now we need to login into the second account and then go to Manage → Images. From there, click on Snapshots. You will find the transferred snapshot under Pending Snapshots Transfer Requests. All you need to do is to Accept the received snapshot by clicking on the “More” dropdown menu option.
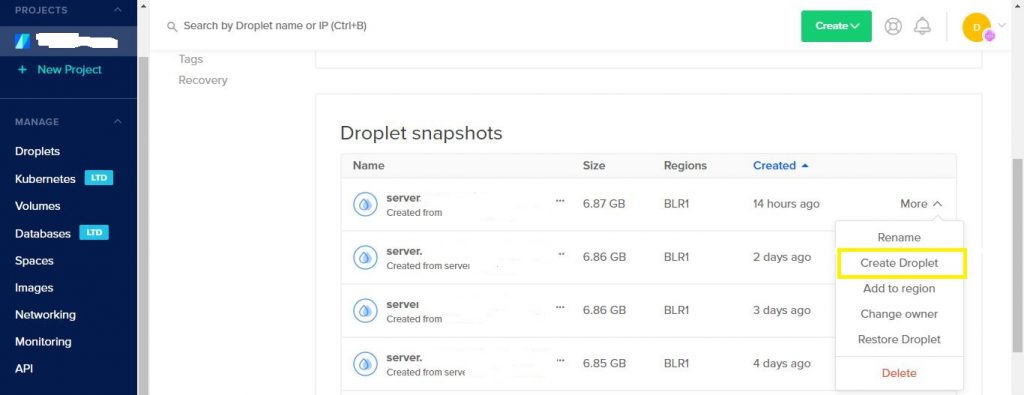
Step 7: Launching a new Droplet from the Snapshot
The final step is to make use of the snapshot that we transferred. To launch the Droplet from the Snapshot, you need to select Manage→ Images→ Snapshots. From there, locate the server by clicking on more, and then finally click on “Create Droplet.” After that, you need to choose the required configuration for the new Droplet and then click on launch.
That’s it! We have completed the tutorial on how to transfer droplet between two DigitalOcean account. If you still feel stuck, don’t forget to take advantage of the comment section below. We are here to help